Summary
Playlists are a great way to help students stay organized and engaged when interacting with your Kaltura Media. If you had a set lecture series published in your course Media Gallery and wanted student to be able to quickly sort out the lectures series from the rest of the content, creating playlists will meet this need.
Body
Overview
Videos posted in your course's Media Gallery can be further organized into playlists based on criteria of your choice. This article will show you how to put those playlists together and how to edit them once they're in place.
Note: Only videos uploaded to the Media Gallery can be added to a playlist.
Instructions
- Click Course Media on the course navigation menu. This will take you to your Media Gallery for that course.

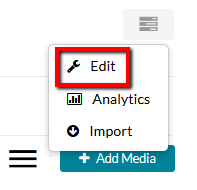
- On the Media Gallery page click the grey overflow button in the top-right of the page.

- Select Edit from the drop-down menu that appears. This will take you to the primary editing screen for this course's Media Gallery.
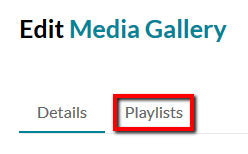
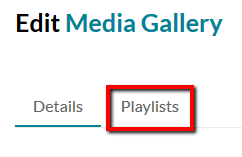
- On the Edit Media Gallery page select the Playlists option on the upper left side of the page. This will open the Playlists menu for your Media Gallery.
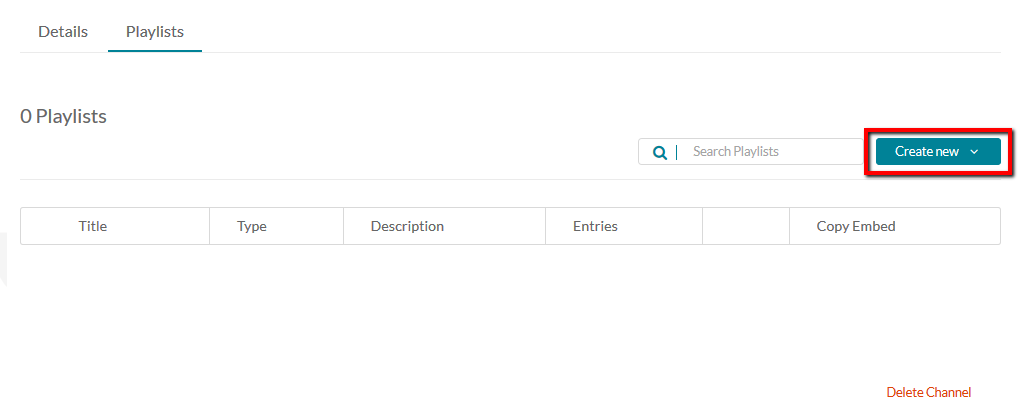
- To create a new playlist, click the Create New button on the center-right side of the screen. This will open up a small drop-down menu.
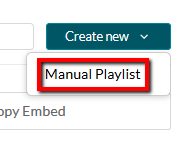
- Select Manual Playlist. This will open up a new menu where you can set the basic information for your playlist.
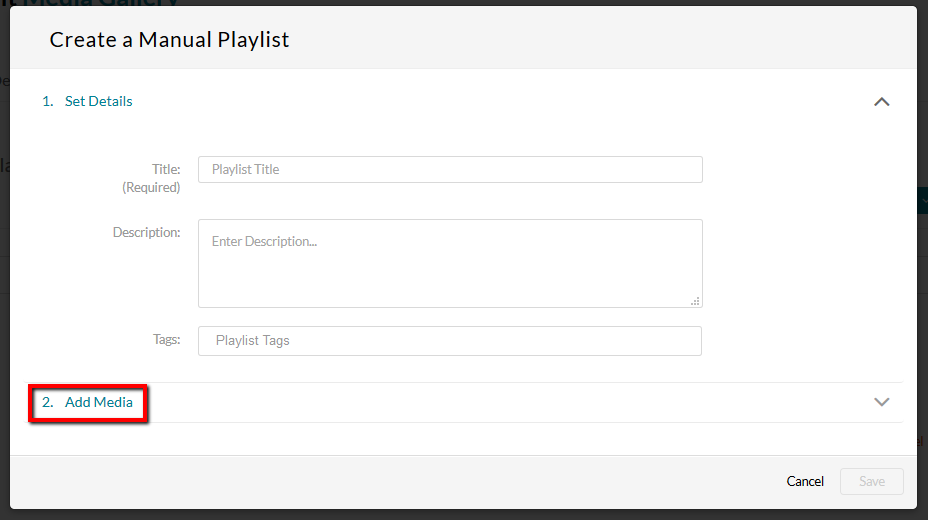
- The page will open to the Set Details menu for your new playlist. Here you can enter the title of the playlist, as well as a description and tags. After you have entered in this information, click Add Media.
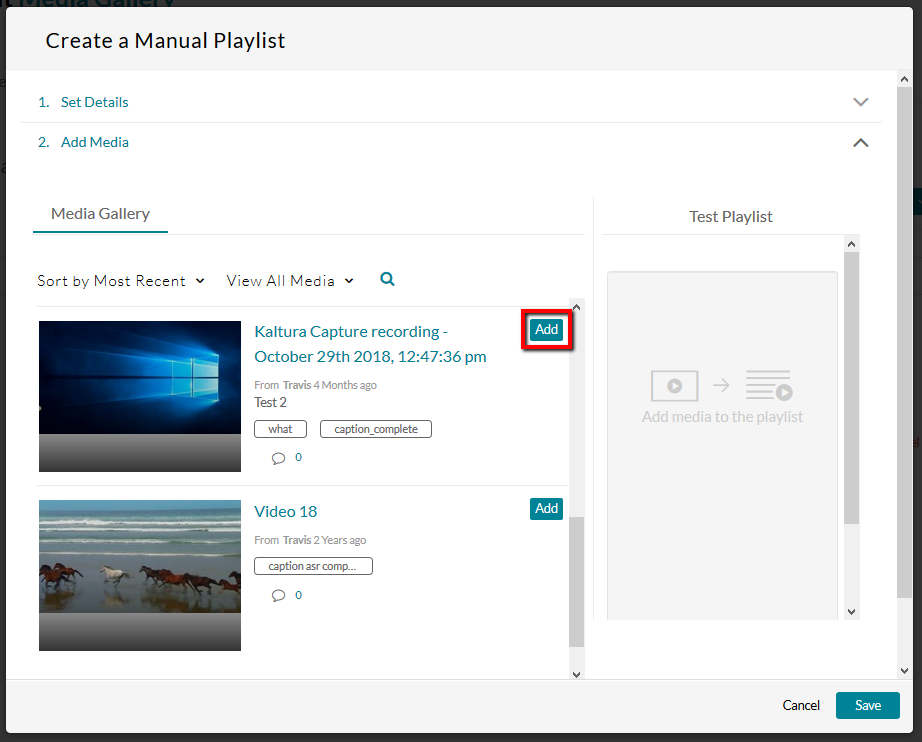
- In the "Add Media" field, you can select which videos in this course's Media Gallery will be assigned to your playlist. Scroll through the videos and click the Add button for each video you want to add to the playlist. Each video will appear in the right-hand column once you do so. A green check-mark will also appear next to a video in the left-hand sidebar to indicate that it has been added to the playlist. If a Kaltura video you can publish is not visible here, you will need to add it to your Media Gallery for this course.
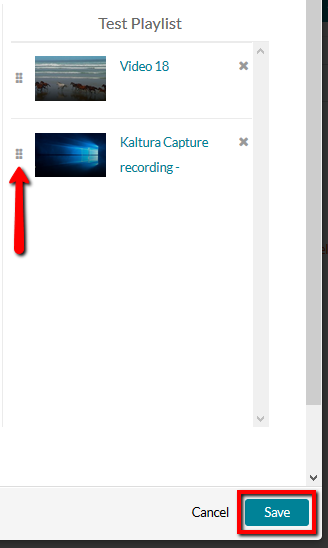
- You can re-arrange the order of videos within the right-hand sidebar by clicking and dragging the grey icons on the left of each video tab. Click the grey X on the right side of each video to remove it from the playlist. Once you are satisfied with the playlist's basic info and content, click the highlighted Save button in the bottom right.
How to edit playlists
To edit any playlists you own:
- Click Course Media on the course navigation menu. This will take you to your Media Gallery for that course.
- In the Media Gallery, click the grey overflow icon on the right of the screen and select the Edit option from the drop-down menu that appears.

- Click on the Playlists tab in the upper right part of the screen.
- The playlist management screen should appear. Each row represents a playlist in this course's Media Gallery. Find the playlist you want to edit and click the Pencil button in that row.

- This will open up the same edit menu as creating a new playlist. The Set Details field will allow you to alter the playlist's basic info, and the Add Media menu will allow you to add or remove videos from the playlist. When you are finished making your desired changes, click the Save button at the bottom of the window.
Questions? Need Help?
If you have questions or need some help, please let ITS know by submitting a Raven Solutions request.